
Restoring a Elcaset sleeve
How far are you willing to go when it comes to repairing a damaged sleeve for a type of media that has only been on the market for 5 years? Read on to find out...

Here we have two Technics branded tapes laying on my desk. I have already used the left one for recording, the right one is 'new'. You may not immediately notice it, but the blue (Type I) has just been unpacked out of it's shrink wrap. The orange one (Type II) clearly hasn't and although the tape inside is still good, the sleeve could use some TLC...
For those who are not familiar with theses tapes, they are known as the 'Elcaset' format from Sony. In case Elcaset does not say much to you, I advise you to read the first chapter of this page. Here I explain what the Elcaset is all about.

The idea came to me to make a sticker to put over the sleeve. One that is identical to the original.
I want to digitize the front of the sleeve by using my scanner, provided I can physically manage to scan it. After which I can restore it on the computer. Then I'll print it on a sticker and put it on the sleeve
over the old print.
Easier said than done...


Of course, the sleeve
doesn't fit under the scanner, the hood of the scanner presses on the edge of the sleeve and this causes the other side to be raised up a bit. I have to hold it down with my hand to get a clear scan.

The result is as follows. the picture is clear, as well as my fingers. But the color is way off...


In the end, the color still turns out wrong and I have to make do with it.
You can see clearly how weathered the sleeve is. It seems to have been stuck to something in the past, also there are many black spots on the right side which look like small pieces of mold.
The sleeve
has probably been stored in a damp old shed or attic for a long time.
It will be quite a task to digitally restore this scan and make the sleeve look new again.

If I hold the sleeve next to the scan, you can see the difference in color very clear. This will be the first thing to tackle.

In Office Word I create four blocks, each with a different orange tint. I print this out and keep it next to the sleeve for comparison.

It's hard to see in the photo, but the color on the bottom left seems to match the original color the most.

I make a 'printscreen' of the colors in Word and open it in MS Paint. Here I can see the color codes for the orange shade I want to use.

Before starting I straighten the scan as much as possible.

Then I open the scan in the program 'Paint.net' (link to program). I remove the black background firs and change the color.

Now that I've changed the color the scan looks a lot more like the sleeve but this is just the beginning.

There are a whole bunch of red spots and pieces that I have to go through individually.
I select the red parts with a special selection tool and change the color. I do this for each piece. In the end I make white what used to be white.
I make damaged letters white and restore them.
I tidy up the red lines of the Elcaset logo, these have faded on some parts.

A good hour later, a significant difference can be seen.


To give you an idea of the level I'm working on, here's the tip of a pencil.

I save the image and now open it in MS Paint again. Here I tackle the damaged edges and erase all the spots you can see.


Here the end result. All spots are gone and the edges are like new again.
Because it is printed on a sticker sheet, I have adjusted the sizes slightly so the sticker will fit over the old print.
The next step is to resize and print the image.

I measure the dimensions of the sleeve (15.5 cm by 10.5 cm), in Word I create a square with approximately the same dimensions. I then print this out on a sticker sheet.


The end result looks pretty neat.

I cut the sticker to size and stick it on the sleeve.

If you look closely you will see that there is a sticker pasted over it. But otherwise it is hardly noticeable.
Still, I forgot one detail. The Elcaset logo in the middle is red but should have been orange.
Still, I'm satisfied with it, a lot of hours have already gone into refurbishing the sleeve. And I have more plans in store. I also want to tackle the sticker on the Elcaset itself.

The sticker already had writing on it, a layer of correction roller doesn't make it any better...
Before I applied correction tape, I measured the dimensions of the sticker and wrote them down on a post-it.
Then I put the cassette in the scanner to get an image of the stickers.


I don't have to edit the images much, at most I edit the two lines at the top. The rest remains original.
And so two more stickers roll out of the printer. The cutting has to be very precise this time. Especially the curves in the middle require a steady hand.

Although I call it an improvement over using only correction tape, the glossy part has unfortunately disappeared. Perhaps I will look for glossy sticker paper in the future. But for now it's fine.

In the meantime I've used the cassette for recording. In this case The Rolling Stones. I have printed (as with my other Elcasets) a matching paper inner sleeve on which the songs are written.

Until recently I left the front of the inner sleeve blank, but every now and then it is nice to print an image on it. In this case a photo of the band members.
I've put stickers on the outer sleeve itself containing all the necessary information about the content including the recording date (which is also my birthday).
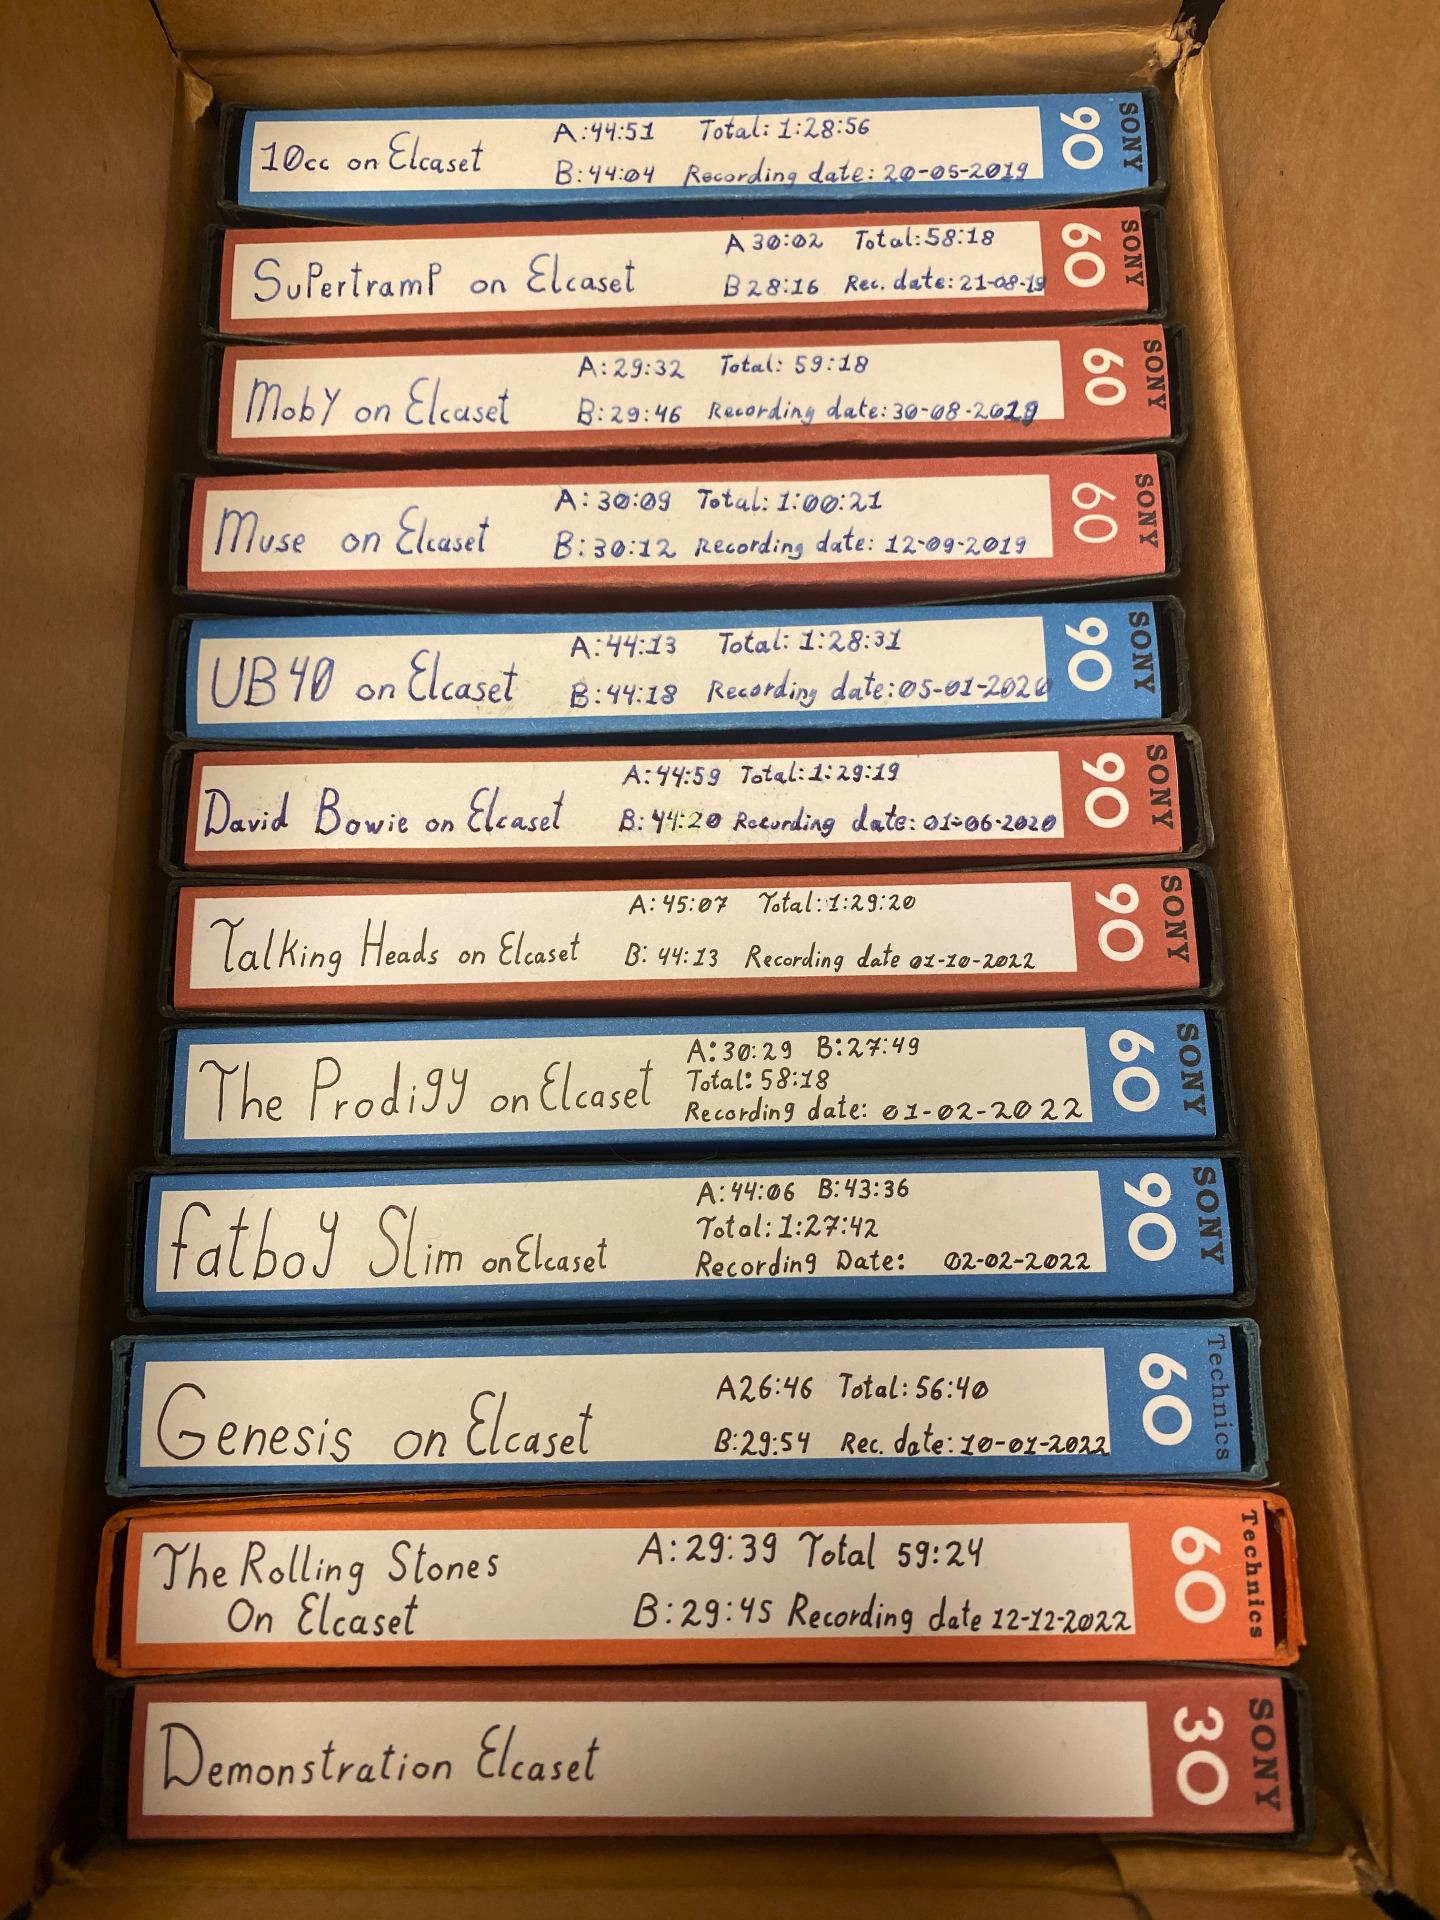

With the addition of the Technics Elcaset I now have a box full of recordings. Including the more special demonstration cassette of 30 minutes.
You can see that the Elcaset is a very special type of media for me, with a astonishingly good sound reproduction and of course its impressive large cassettes make it a very nice media to work with, enough reason to spend a few hours of my time on refurbishing a sleeve
that is also special in itself.
For those who happen to be looking for stickers for this type of Elcaset, the stickers can be found on the downloads page together with other related objects for your own use.