
Repair: Sony TC-252
The Sony TC-252 is a somewhat older type of tape recorder, but nevertheless certainly not of poor quality, I secretly do not know much about Sony tape recorders, but what I can see from the functions and quality for the time from which this recorder comes I have good faith in that I can get this device working again.
October 4, 2019

Although I come across here as if I am going to look at this device for the first time, it has been with the knowledge I gave it to for several months, we have tested it before, electrically everything seems to be good but it does not want to play, at the On our first inspection inside we quickly concluded that the belts are not what they used to be, the transmission from the motor to the coil is distorted and the belt to the 'tic counter' had turned into a black paste. Time for new belts!
Tool list:
- Phillips screwdriver (PH1)
- Flat screwdriver
- Locking pliers (small)
- Tray for screws
- (ball bearing) grease + cotton swabs
- Penetrating oil (fine oil)
- Contact spray (not in photo)

I'm going to work on this without having to turn the device on when it's open. nevertheless I test the device several times with open parts. This is not required (after all, you can first close the device for testing), but since I don't perform this repair at home and I only have a weekend, I will take such risks sooner to be able to deliver a working machine on time . Despite this I don't work in a hurry, what I can't do now can wait until the next visit. In this case, the repair is not complicated either, so it should be easy to finish it in a weekend.

Originally, the recorder comes with accompanying speakers, which you can click on the sides of the recorder (if I'm not mistaken). The recorder has a built-in amplifier, something you often see on older models. Unfortunately, the recorder we have no longer has the original speakers. I took the photo above from the internet as an example.

It is striking that it still has the original protective cover, even crazier, this one still looks very good for its age (+40 years), no cracks or deep scratches to be found. This is quite exceptional.

The In and Outputs are located on the top of the device, the connections of the original speakers are also located here (far left) in the form of 3.5mm Jacks. In the middle there are four RCA (RCA) connections (stereo out and input) followed by an 8-pin DIN connection. By the way, on the left is the switch for the voltage to be chosen, it is set to 220V.

If we want to replace the belts, the front plate has to be taken off, but before that can happen some parts have to be detached, we start with the cover that protects the heads, it is fixed with friction and can be removed by hand.

As soon as the cover is off you will see these two split pins, they also have to come off before you can detach the front plate.


To get these pins out insert a flat head screwdriver square into the slot of the pin and turn counterclockwise, they hold like screws so once they move freely you can unscrew them by hand.


The selector switch is a bit more difficult, for this you have to loosen a flat locking screw at the bottom, this screw does not have to be removed, turn it half a turn and the knob will come loose.

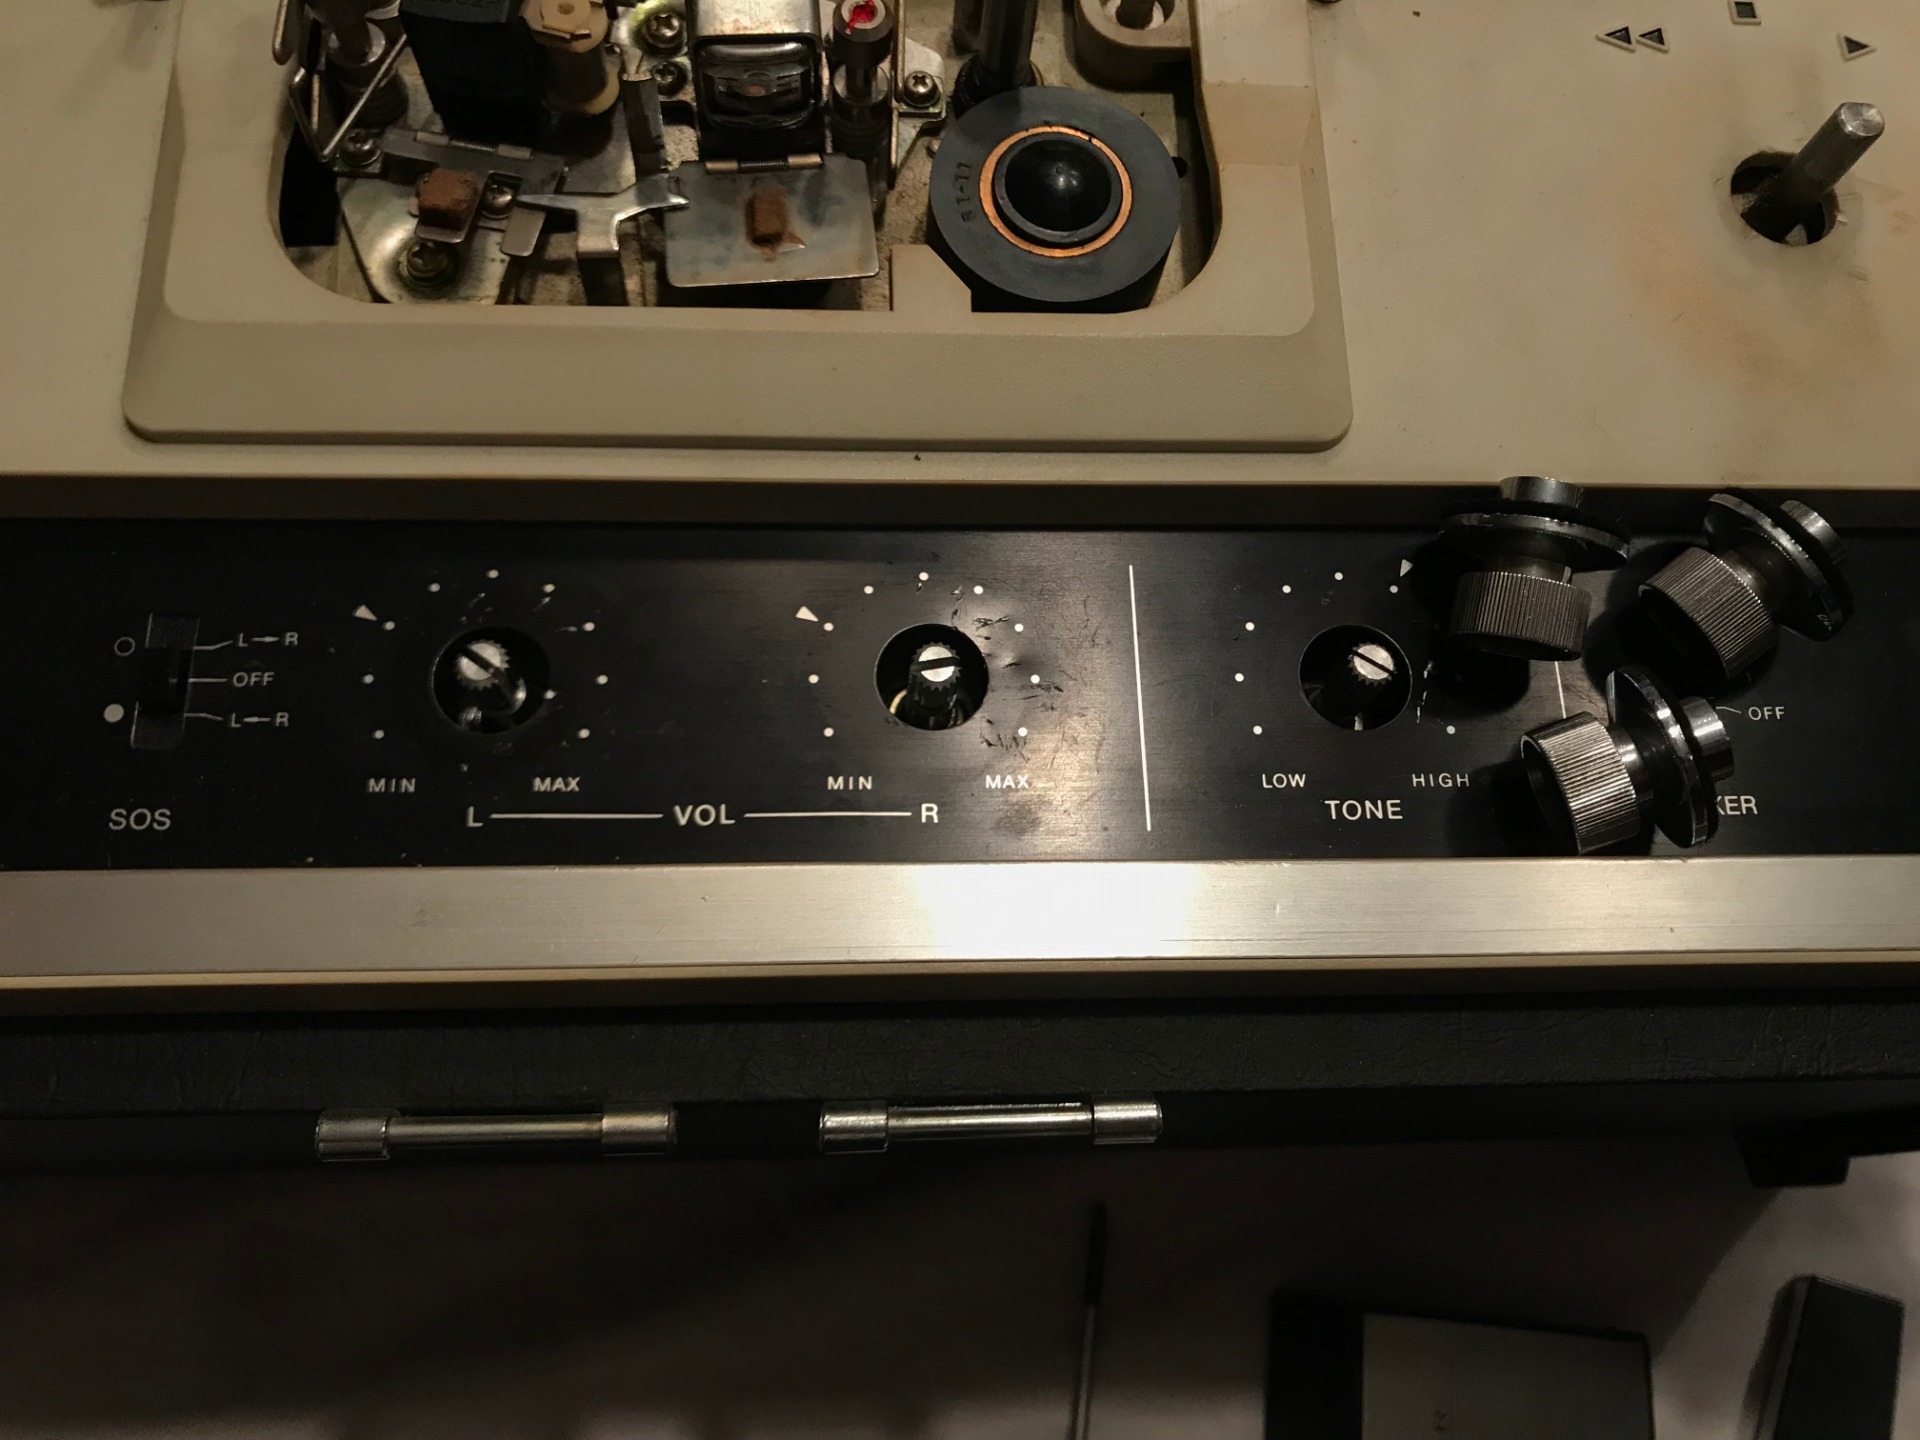
At the bottom of the front are these three knobs, with which you set the stereo volume as well as the pitch. These are again friction knobs, first turn them all the way to 'Min' and 'Low' after which you can pull them loose with appropriate force.

At the top of the front is a selector switch for the speed, again a friction knob, put it in the middle position (3-3/4 ips or 9.5mm) for convenience and pull it off. (I had it switched on the left as you can see)

Finally, there are two more screws countersunk in the front plate, you can loosen these with a cross head (PH1).
After this we can finally remove the front plate,

Here we see the inside of the tape recorder, the mechanical operation of tape recorders is generally comparable to other brands and models.
Often only the layout is somewhat different. The rubber parts still look good, they show the first signs of age, but are still usable. I don't see any rust formation or other oddities, something you always look at when you open a device like this. The mechanical parts are greased, the grease has only dried a lot so will have to apply it again. But first, let's start with our main goal, replacing the belts!

See here two new belts, these ordered on the internet. For a reasonable amount of €14 (+ shipping costs) you already have them at home, these come from Italy, which saves on shipping (from America you will quickly lose double for this).

The thick belt is the main belt, you can see it here between the two axles. If you set the recorder in the correct position with the previously detached selector switch, you can remove this belt with your hands, it is quite tight around it so expect some resistance, especially when placing the new belt. After mounting, turn to make sure the belt is seated correctly (it should fall into a notch at both axles).

On the left the old belt, on the right the new one. The old belt betrays that the recorder has stood still for a long time, the old belt has molded itself to the position it has been in for years.

Then see the belt of the tick counter.... This has completely perished and turned into a sticky stuff 'pitch' I like to call this, make sure you wear old clothes because you don't want this stuff on your good clothes to have! It also crawls nicely under your nails so wash your hands afterwards, it's not poisonous or dangerous, as long as you don't eat it...
The belt of the tick counter runs from the left coil to a wheel on the tick counter itself.
I was missing a large part of the old belt, but found the remainder on the spool.

With this belt replaced, I test whether the counter works again. Now that this job is done, it is time to test the device itself.


Because this device comes from a time when earthing of machines was not yet common, the old plug no longer fits in the current sockets. The previous owner had already professionally made notches for the ground pins, since the shape of the socket is no longer the same as the old plug. It simply doesn't fit anymore, I can edit it further but decide to get a new plug-head. Not today, it's already late. For now I'm going to unscrew the old plug and look for a new one tomorrow.


Fortunately, you don't have to wait a day to continue reading. I got a new plug at the local thrift shop for €0.55. With a new plug we can start testing the device.

During testing another problem comes up, both forward and rewind seem to work fine, but normal playback does not work. The reels remain stationary. Luckily I don't have to look far.

When the tape recorder is set to play, I notice that the Pinch Roller is not spinning. This explains why spooling works but playing won't (the Pinch Roller is not needed when spooling). I have indicated where the problem is with the arrows. The rubber wheel should press against the flywheel of the Pinch Roller but it doesn't. The reason for this can be found in the rubber wheel.

After I have loosened a circlip, the rubber wheel comes off easily. The hinge on which the wheel rests is stuck, I put some grease on itand move it up and down until it goes smoothly again.

And so this problem is also solved, the flywheel is driven again and the Pinch Roller that is directly attached to it turns happily with it. Time to really test a machine for real!
Just before that I made a video in Slow Motion, although not of great value for the repair, it is nice to see.

Again a problem arises, shown here are the potentiometers for both channels, the left channel does not seem to come through well and is noisy. I turn the left knob a bit and notice that I can keep turning it, I'll have to take a look inside this potentiometer.


Before I can reach the potentiometer, the entire interior has to be removed. On the back, the lower legs need to be removed, as well as two other striking screws that you can find on the back.
Loosen the screws on the top that are in the handle. After these are removed, I lay the device flat to lift the interior out.


Then you see the back of the interior, there's not much special to see, only point of interest is the clumsy engine, this is the heart of the machine and drives everything that should move.

The potentiometer comes loose with a nut that sits around the axis of the knob itself, on the back is a metal cap that is attached to the front with tabs, I bend this open with needle-nose pliers. What I find inside does not make me happy, the interior of the potentiometer is completely splintered, all pieces of plastic and some bent metal pins. I'm still looking to see if I can repair it, but I'm afraid I'll have to go get new ones, I'm still trying to bridge it in vain. The sound is horrible along the left channel so the only temporary option remains to exclude this meter. Although the right channel still works, I decide to check this potentiometer as well.


The right-hand potentiometer also doesn't look fresh anymore, but you can see here how it should look like, the plastic holds it all together, but is about to break. Repair of this meter is no longer possible, I will have to look for new meters...


In order to do something useful now that the interior is out, the engine has a maintenance point for the supply of oil, so I drip some fine oil (sewing machine or penetrating oil). Just turn the engine a few times and it runs noticeably smoother.

Before I put the device together, let's take a picture of the whole. Recognizable in older devices is that the housing is often completely made of wood, as opposed to metal, which is more common with modern machines.

Time to reassemble the device, I get help from a loyal assistant named Moos. The advantage of this is that you never have any screws left at the end ;-).

Look what I found here! My first tape recorder! The Akai 4000DS MK-II (which I traded with them). When the Sony TC-252 is fully operational again, it will take the place of the Akai. The Akai will then move to the next owner (the son of the friends where I am staying now). Nice to see this recorder again.
Unfortunately, the Sony does not yet work properly, the left channel is unusable for recording and under certain circumstances there is still a lot of noise from the various outputs.
Despite this, the operation is now OK at most, winding and playback go well, but the sound is not yet optimal. For now, he's going to step aside. The repair will be continued but before I get to this again we will be a few months further. (or more)...
For now a video of the operation of the device. The sequel to this fix will be added to this page.


Another small addition, the VU meters and the recording system work slightly differently than I am used to. Here you can choose separately on which channel you want to record. With modern recorders you can only do this with a 'track switch' (tracks 1 and 4 or 2 and 3).


The VU meters also work differently, with more modern recorders they work during both recording and playback, these meters only respond when you start recording, logical actually you only need them to fine-tune your recording, playback times are less important.
You can clearly see in the second photo that the left channel is not in order during recording.
Nevertheless, this strong signal disappears after a few seconds, this will have to be looked at or may be solved when replacing the broken potentiometer.
By the way, the light turns red when it is in recording mode, in reality it is a red piece of plastic that slides in front of the light.
October 6, 2019
Related pages
- My Experience with Reel to reel Recorders Blog
- Magnetic tape (reel to reel) Information
- Magnetic Tape Gallery