
Realistic SCP-7 Repair
July 8, 2020

While I'm actually waiting for parts for another device to be repaired, I can nicely fill the waiting time with another repair. I present to you the Realistic SCP-7 Cassette Player.
Is it a Cassette deck? No!
Is it a Walkman? No!
It's a real Stereo-Mate!!!
Actually, I have no idea what type of device it exactly is, it plays cassette tapes and it was sold for €5 at a thrift shop that I visit regularly.
I've searched the world wide web for a manual but unfortunately couldn't find it. Even a search by the well-known search engine yielded nothing.
Only hits I had were of relevant (possibly newer) models.
From this I can conclude that it is in fact a kind of cassette deck, at least his descendants are called that. Yet this device can be called 'portable', so it could be counted as part of the Walkmans class. One thing seems certain, it is one of the first generations of portable players and it clearly needs maintenance.
Let's take a quick tour.

I looked up indignantly when I opened the battery compartment (before I bought it). It holds up to four AA batteries! I expect that it can play for quite a few hours, or it uses a lot. The batteries were already included and still supply voltage! The previous owner probably used it not too long ago.

The player has a considerable weight (even without batteries), which is usually a good sign of the quality. My expectation is that it has a fairly compact build, which on the other hand will make the repair more difficult (or more challenging).
The operation is simple but logical:
- The play button (in the middle) is also the switch to fast forward and backward.
- The stop button (bottom) is a combined button, press once to stop playing, press again to open the door and eject the cassette.
- The two sliders (top) are the volume controls, as the volume controls are separated (left and right) I suspect it is quite an old device, possibly one of Realistic's first series of portable players. The separate volume buttons can also be seen on the first series of Walkmans from Sony (TPS-L2 and newer). It wasn't until the Walkman became more popular that these two buttons were often combined.

The rear doesn't have much to offer. A nice grill (this is not a speaker). A sticker with information about the model number and information about the batteries to be used as well as country of origin.

On the top there is a connection for the headphones as well as one for connecting an external power source.
To give a nice impression of how it works, I took the time to film it below.
Remarkable about the operation is that it plays and rewinds the tapes almost fantastically, only the heavy tape (by Daft Punk) gives him trouble rewinding, but that is on almost all portable players that I use. the sound is therefore worthless and seems to be in the volume control, the right channel no longer works at all, the left only at specific points accompanied by a lot of noise.
By the way, I make a few mistakes in that the forward and backward cannot be stopped with the 'stop' button, you have to put the play/rewind button back in the middle to stop this action.
All right, now that the tour is over we can go see it inside, you're probably just as curious as I am so let's get started quickly.
Oh wait a minute! We need to do some shopping first:
- Phillips screwdriver (PH0)
- Tweezers
- Tray for screws
- Small bird's mouth pliers
- Multimeter
- Super glue/glue gun
- 96% alcohol (Ketonatus)
- Ball bearing grease
- Cotton swabs
- Contactspray
- soldering machine
- 4x AA batteries
- Speaker


The back is the cover, it holds three screws of different sizes, even the two front ones differ in length (left is shorter than right). At the bottom of the battery compartment is a fourth smaller screw. When these have all been removed, the lid can be removed.


With the lid off we get a view of the inside, the motor is built in at the bottom right and in turn drives a sturdy flywheel that sits at the top, in between is the drive wheel of the gear that moves the player. Furthermore, a printed circuit board that is soldered by hand, this can be seen from the thick slices of solder on which the wires are attached.

It may not be necessary, but most buttons can be removed by hand, only the play/reel button was a bit more difficult so had to give it a little push from below. I remove the plastic plates under the volume buttons with tweezers.

The stop/eject button is wider below the control panel and therefore cannot be removed. He is not attached to anything. The black control panel does not come out yet, for this I have to disassemble the device further. The reason I actually remove the buttons is to be able to clean them and the panel.


Now that we look at this, there is also a metal bracket, in my case it is loose. I will have to take the control panel out to screw it back on. The only use I can find for this is that it has to make contact with the lid, because there is a metal foil stuck to it, where some scratches can be found where the bracket has been against. The foil prevents interference signals from outside. It can be called a piece of quality.

The circuit board is secured with two screws. The left one is a bit hidden though. It is best to keep the screws separate as they differ from the screws that come out of the housing. By sliding the printed circuit board to the right, it can be lifted obliquely out of the device, pay attention! There are a lot of wires attached to it, these are quite fragile.

In the bottom left corner is a bracket where the wires are located, which I lift over it with tweezers before I can really lift the circuit board out of the device.


Finally I have a view of the inside of the device, I can also immediately check the capacitors on the printed circuit board. Here we see that a second belt is present, this one is for the coil functions. Both belts still look pretty good, no cracks or drying out, which is very nice!

A striking detail is that the cover under the play/reel button is actually a recycled piece of plastic with inscriptions from a portable radio.

Because I can't find a manual for the device myself, I took the trouble to write down all capacitors together with their capacity and voltage. Then I made a sketch on MS Paint of the circuit board with the locations of the capacitors, I added the ICs to make them easier to find. of the self-proclaimed C401 no inscription can be found, C301, on the other hand, is noted but no capacitor has been soldered on it. Maybe it will help someone in the future, at least I can move forward with it. I will order the noted capacitors and replace the old ones.
Another small tip, it is useful to have a look at the feet of the capacitors, here you could find any leakage, the feet can show rusting which is an indication that these should be replaced, in my case they actually still look good looks good, but because I myself have not replaced capacitors on such a board before, this seems to me the suitable candidate.

I can read on the inside of the volume control that it adjusts from 0 to 10KΩ. With the multimeter set to 20KΩ I measure the points on the circuit board where the volume controls are connected, the still working (left) control gives a good reading, if I do this for the right control I get no value back. I get a suspicion that the left volume control may be broken, but I'm not sure yet, because I don't see whether the wire is still connected properly. For this I would have to get under the running gear to check this.
By the way, the measuring is staged here because I can't take a picture and measure at the same time, I would need three hands for that...

Although I can do this with the device still assembled, I spray some contact spray into the sliders of the volume controls, as well as the headphone jack, I slide the buttons up and down a few times to spread the oil I also insert repeatedly a jack into the headphone output.

After this I lubricate the parts with old grease (I wipe the old one off first). Then I put the play/rewind button back for a while and switch it on and off a few times, so that the grease gets nicely between the moving parts. I put the circuit board back in. The capacitors have a waiting time and I want to see what I can do for now to improve the quality. I have to make sure that I put all capacitors back in their original position, I had to bend some to read the markings, I also put the wires back as they should. It's not really easy, it all just fits.

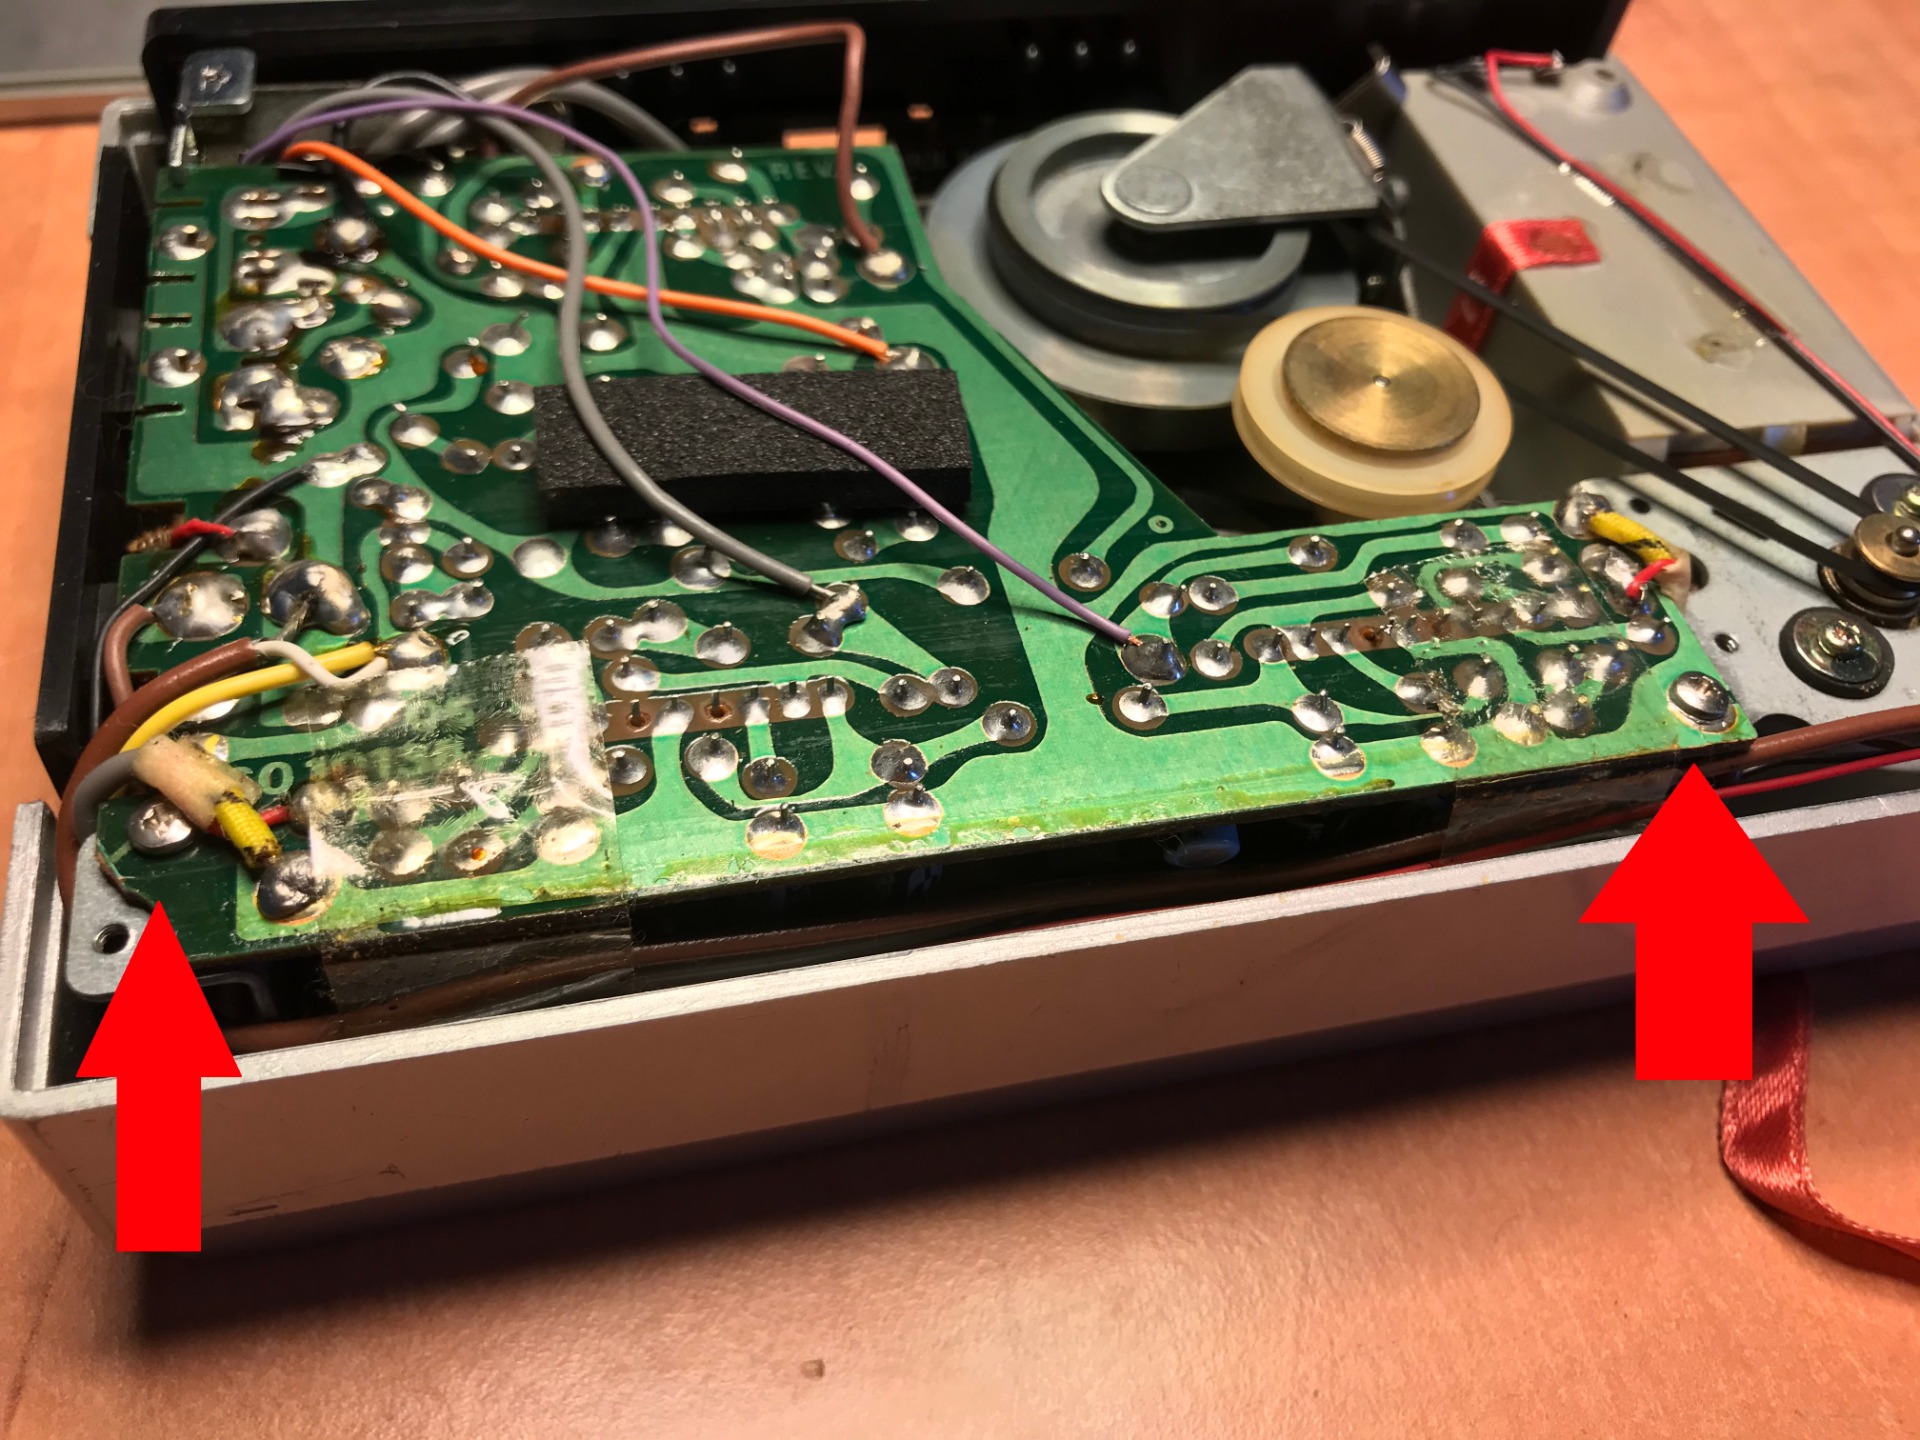
I put the player upright and open the door with the button, to open the door further I push a plastic bracket in on both sides with my finger, indicated here by the red arrow. This way the door can be removed so that I can get to the inside better.

Inside there are again three screws, if I remove these I should be able to get in under the running gear.

For a change, these three screws are the same size, keep them separate from the rest to avoid confusion.

It is not often that I can separate the entire interior so easily from the housing, so here is a view of the front. I can now also reach the right volume control better. I also immediately see that the (orange) wire is still connected to the regulator.

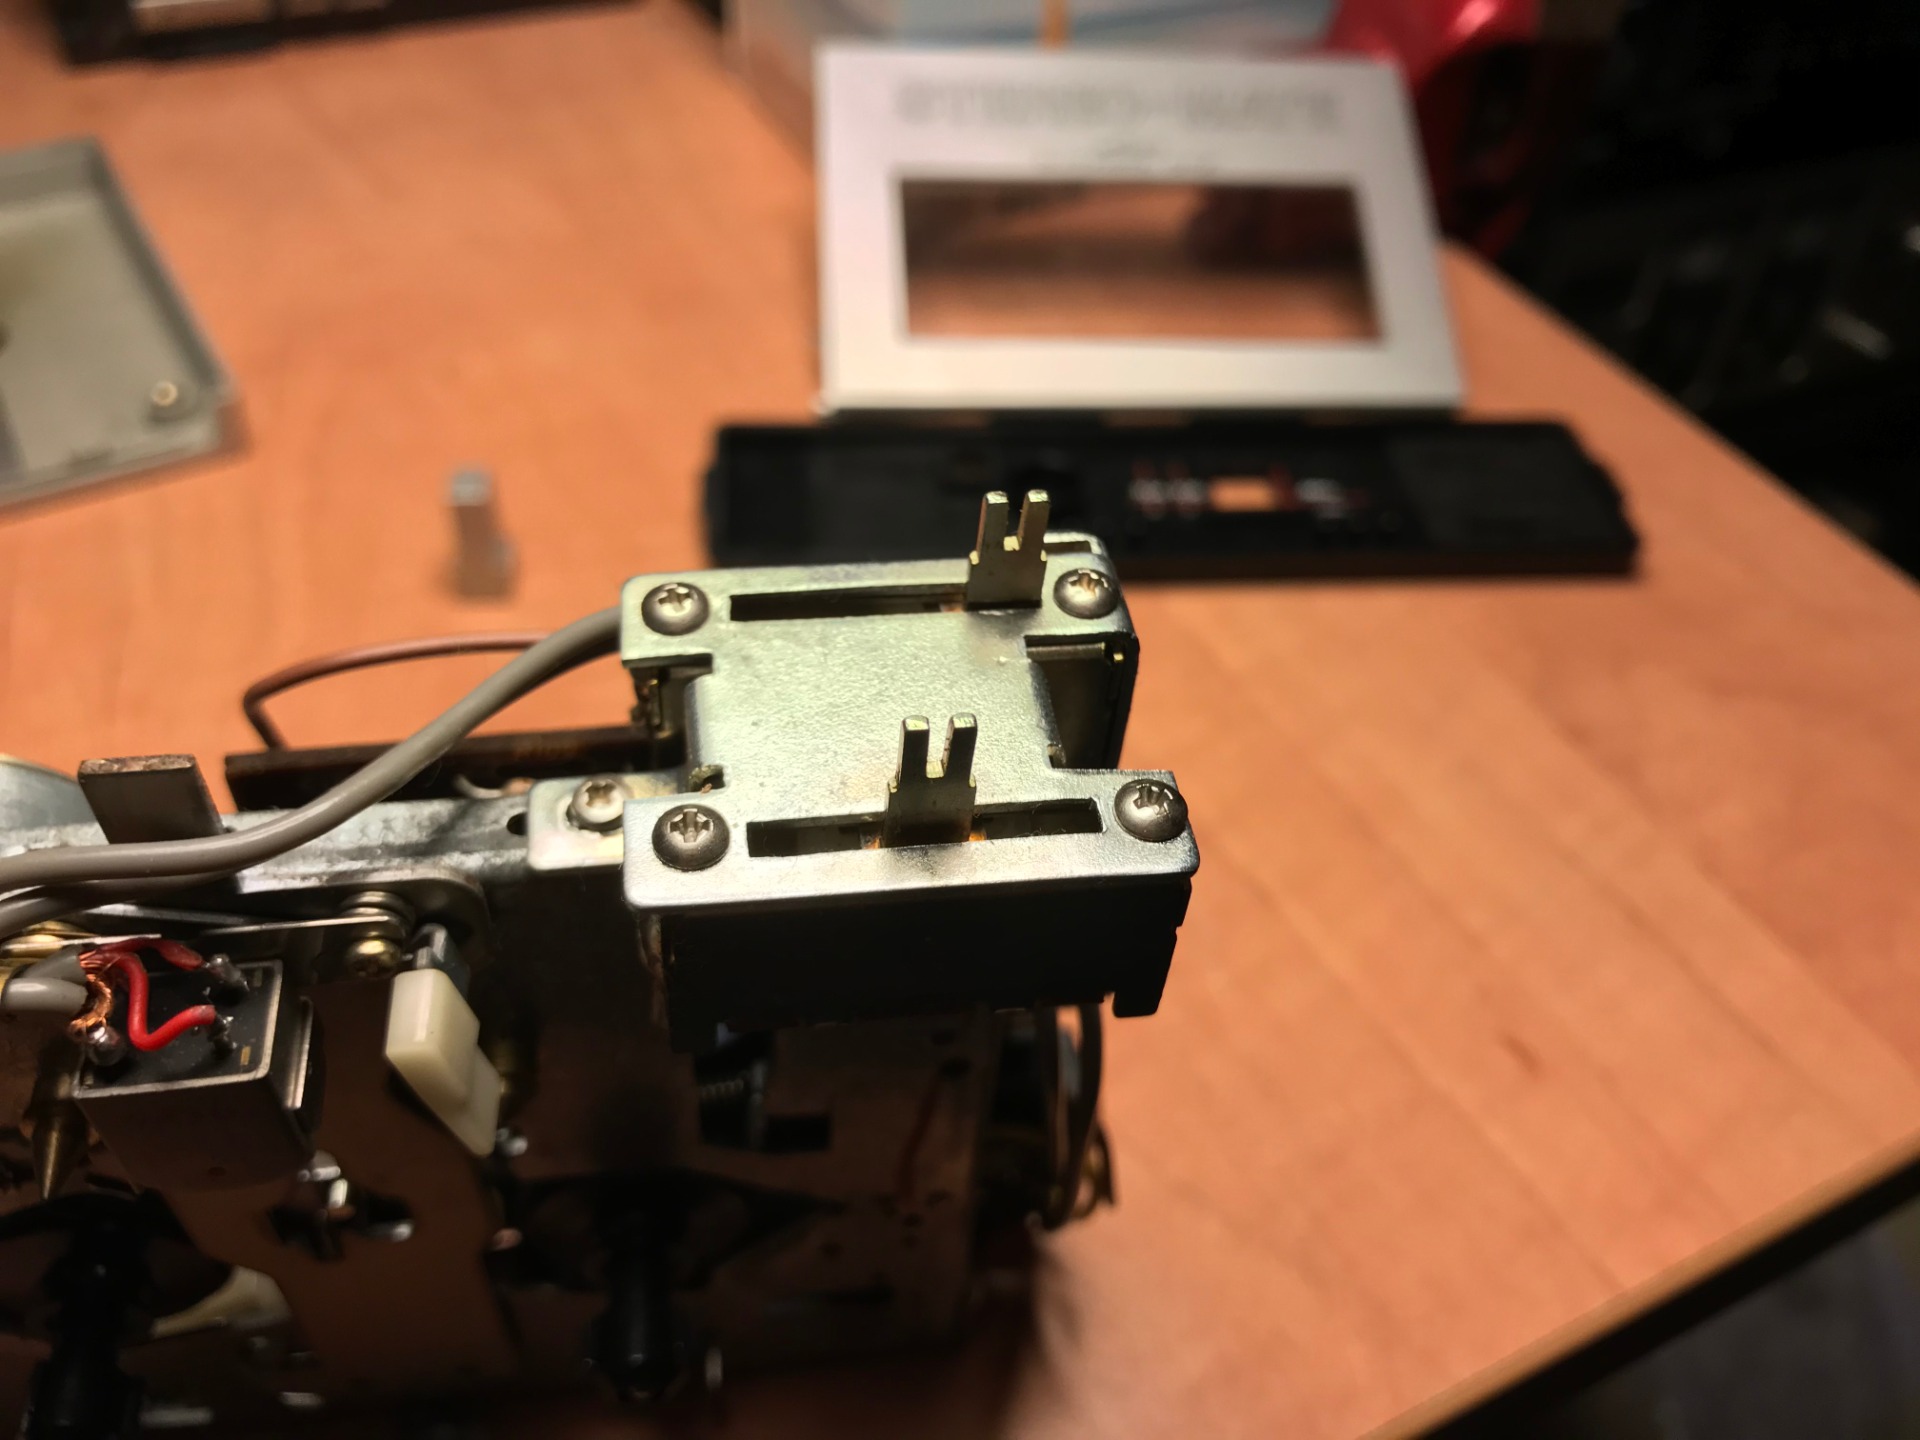
Just put the meter back against it and it is immediately clear that the problem is in the volume control itself. I get no signal so I have to look at the regulator itself, luckily it is attached with two small screws and is therefore easy to remove.

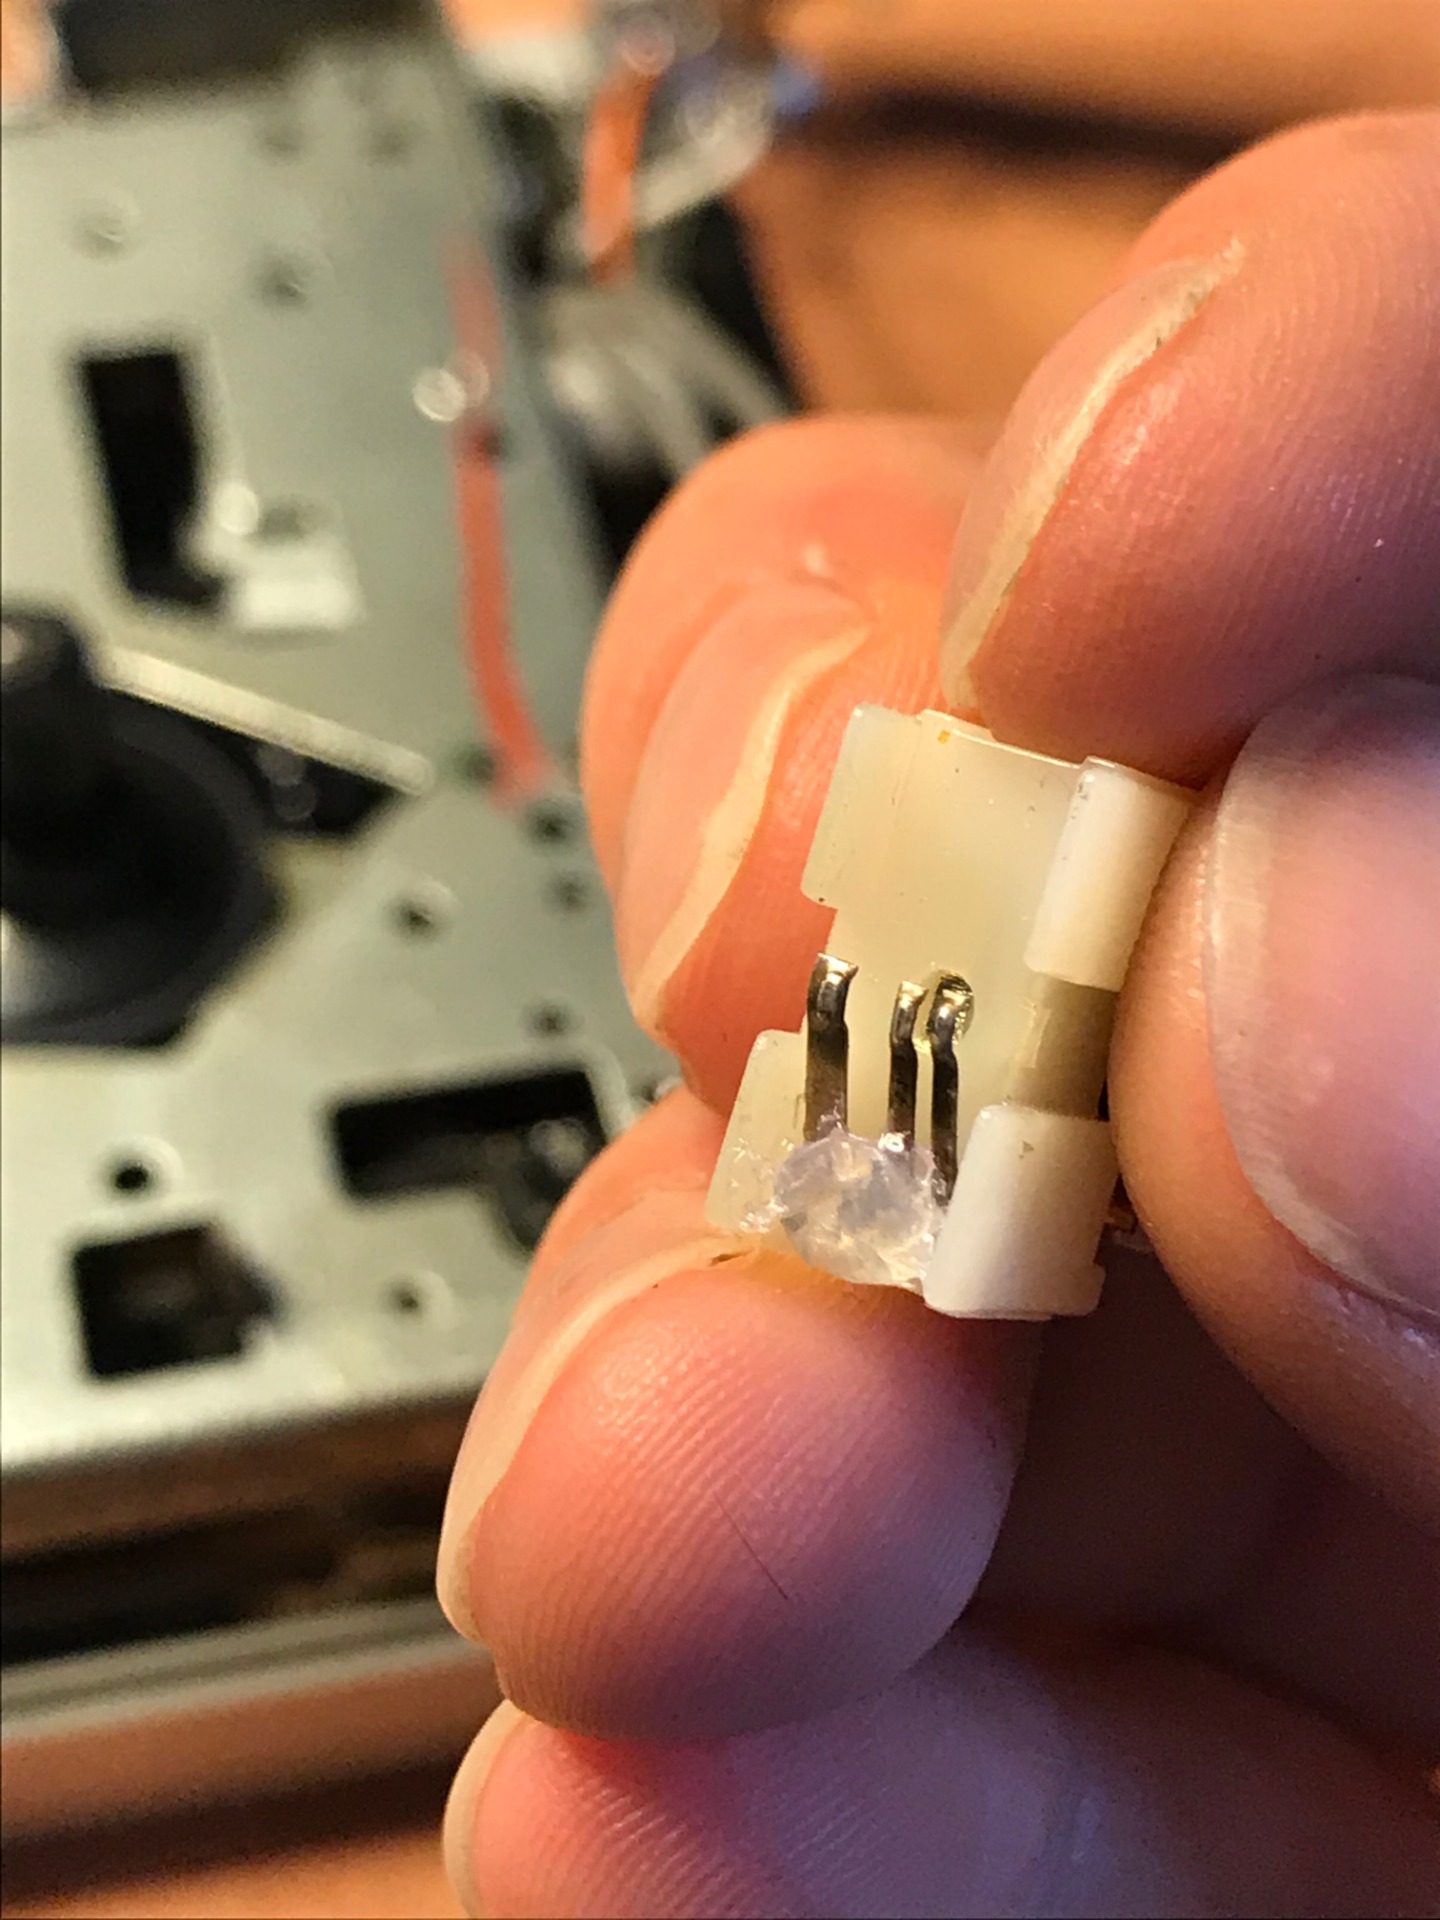
I desolder the wires attached to the volume control and take it apart as far as possible. This immediately gives you a good view of the operation of the controller. The legs under the white block drag over two strips. By sliding the knob you shorten or extend the distance between the two strips, so adjust the resistance so that the volume is also squeezed or thrown open.
What strikes me is that the legs are loose, probably no longer makes good contact with the strips, so that no sound is transmitted from the controller. I'll see if I can reattach the legs with a dab of glue.

I have to search for a while but eventually manage to conjure up the glue gun, let it warm up and it is ready for use.

Meanwhile, the workbench has been transformed and it has become a big mess...

I remove the legs from the plastic, put a dot of superglue on them and stick the legs back, on top I put another dot of glue with the glue gun to secure everything properly. I let the whole thing dry for a while, after which I can reassemble the entire volume control.

I put the whole thing back together, the re-soldering of the wires does not go well and I have to shorten the gray wire. When I want to fasten the meter again, I notice that it no longer fits in its place, the wire is too short...
I scavenge through an old bag with cables and prepare a new wire.

Everything is back together, I stick a tape over the wires. When I put the multimeter against it, everything comes in neatly, it seems that everything works again. But don't know for sure until I've listened to a tape.

Carefully I put the player back together, I have cleaned the control panel in the meantime and everything can be put back on it.

When I screw the back on it doesn't seem to fit quite right, a quick inspection shows that a wire is stuck. The housing opens again for a moment and I put the wire back neatly. Time to test it!
Both volume controls now work properly, I also immediately test the automatic turn off of the player when the tape has reached its end. The sound quality seems to be disappointing, but this is due to the cheap speaker I use for this, with the headphones the sound sounds a lot better. You can't really call it fantastic, but the sound quality is certainly acceptable.

The only thing left to do for the time being is to clean the parts that come into contact with the tape, for this I use 96% alcohol. After this, the cover can also be put back on and the device is ready for use again!

July 9, 2020
But wait a minute, this isn't the end of the report, is it? What about the capacitors you would replace?
Oh yes the capacitors. They were ordered but I did never received them. I have contacted the supplier and discussed how to proceed. The capacitors were probably lost somewhere during shipment. I got the money back but I never placed a new order. It would have certainly been nice to replace the capacitors, perhaps that would have made the device work even better, but was it worth it? No, because before long the volume control problem returned. And as I have no further plans for the SCP-7, I have decided not to make any future repairs.
The Walkman is now in the drawer with his companions, awaiting a new owner.
Related pages:
Sony TCM-6 Walkman Repair
Sony TCS-370 Walkman Repair
Sony WM-DD30 Walkman Repair
Compact Cassette Information
Compact Cassette Repair
New old tapes! blog
Compact Cassette Gallery