
Cassette tapes and players/recorders part 2

Subjects:
- How does the cassette work?
- Types of tapes and quality
- Cassette players/recorders
- Make your own recordings
- Maintenance and fine adjustment
- Walkmans
- Buy new Cassette tapes
- Make your own insert cards
Click here for part 1
4. Make your own recordings
In the 80s it was especially common to transfer the songs from an LP to a tape (a personal mixtape), radio was also a controversial but popular medium for this. Although I also have that option, I choose all my tapes from the computer Nostalgia is nice but I still want to achieve the best in quality.
My computer is almost perfectly organized, I don't like it when it's a 'mess', so I also archive my recordings neatly on the computer.
I have my own recording folder for each medium
, which contains all the information about the playlists I have put on media as well as what I have digitized.


Here's a look at one of these homemade playlists, the times of the songs are added by Excel and subtracted from the available recording time per side of the tape.

To know those times I add an extra column to the folder with numbers, a right-click on the top column gives extra options, including 'Playing time' I enter the displayed times myself in Excel.
Since a playlist has to be split in half, I actually have to make two short playlists.
Side A and B both have 28 minutes of playing time. So I have to move the numbers a bit so that they fit within the times of the tape. If I'm short on side A but have some left on side B, I switch two numbers so that everything fits.
In this case, on side A I have a good minute left on the Excel file, but I would end up exactly on side B, but this is not quite right, not every number stops exactly on the second...


To see the real playing time I select a side with songs and open with a right mouse click the 'properties' of the songs, in the column 'details' is the actual total playing time. Windows also adds up the milliseconds, which means that the playing time is sometimes a few seconds longer than indicated on Excel. The difference is so small that in this case it makes little difference whether a playlist exceeds the playing time on a cassette. After all, each tape has more recording time than stated, sometimes up to a minute.
With the playlist ready, I make a choice from the type of tape I'm going to use and set the device accordingly. Before I start the actual recording, I use a test tape. I can't listen to the recording live on the deck I'm using here, so I don't know if everything is right until afterwards. On the test tape I play the songs and check that the sound settings are correct.
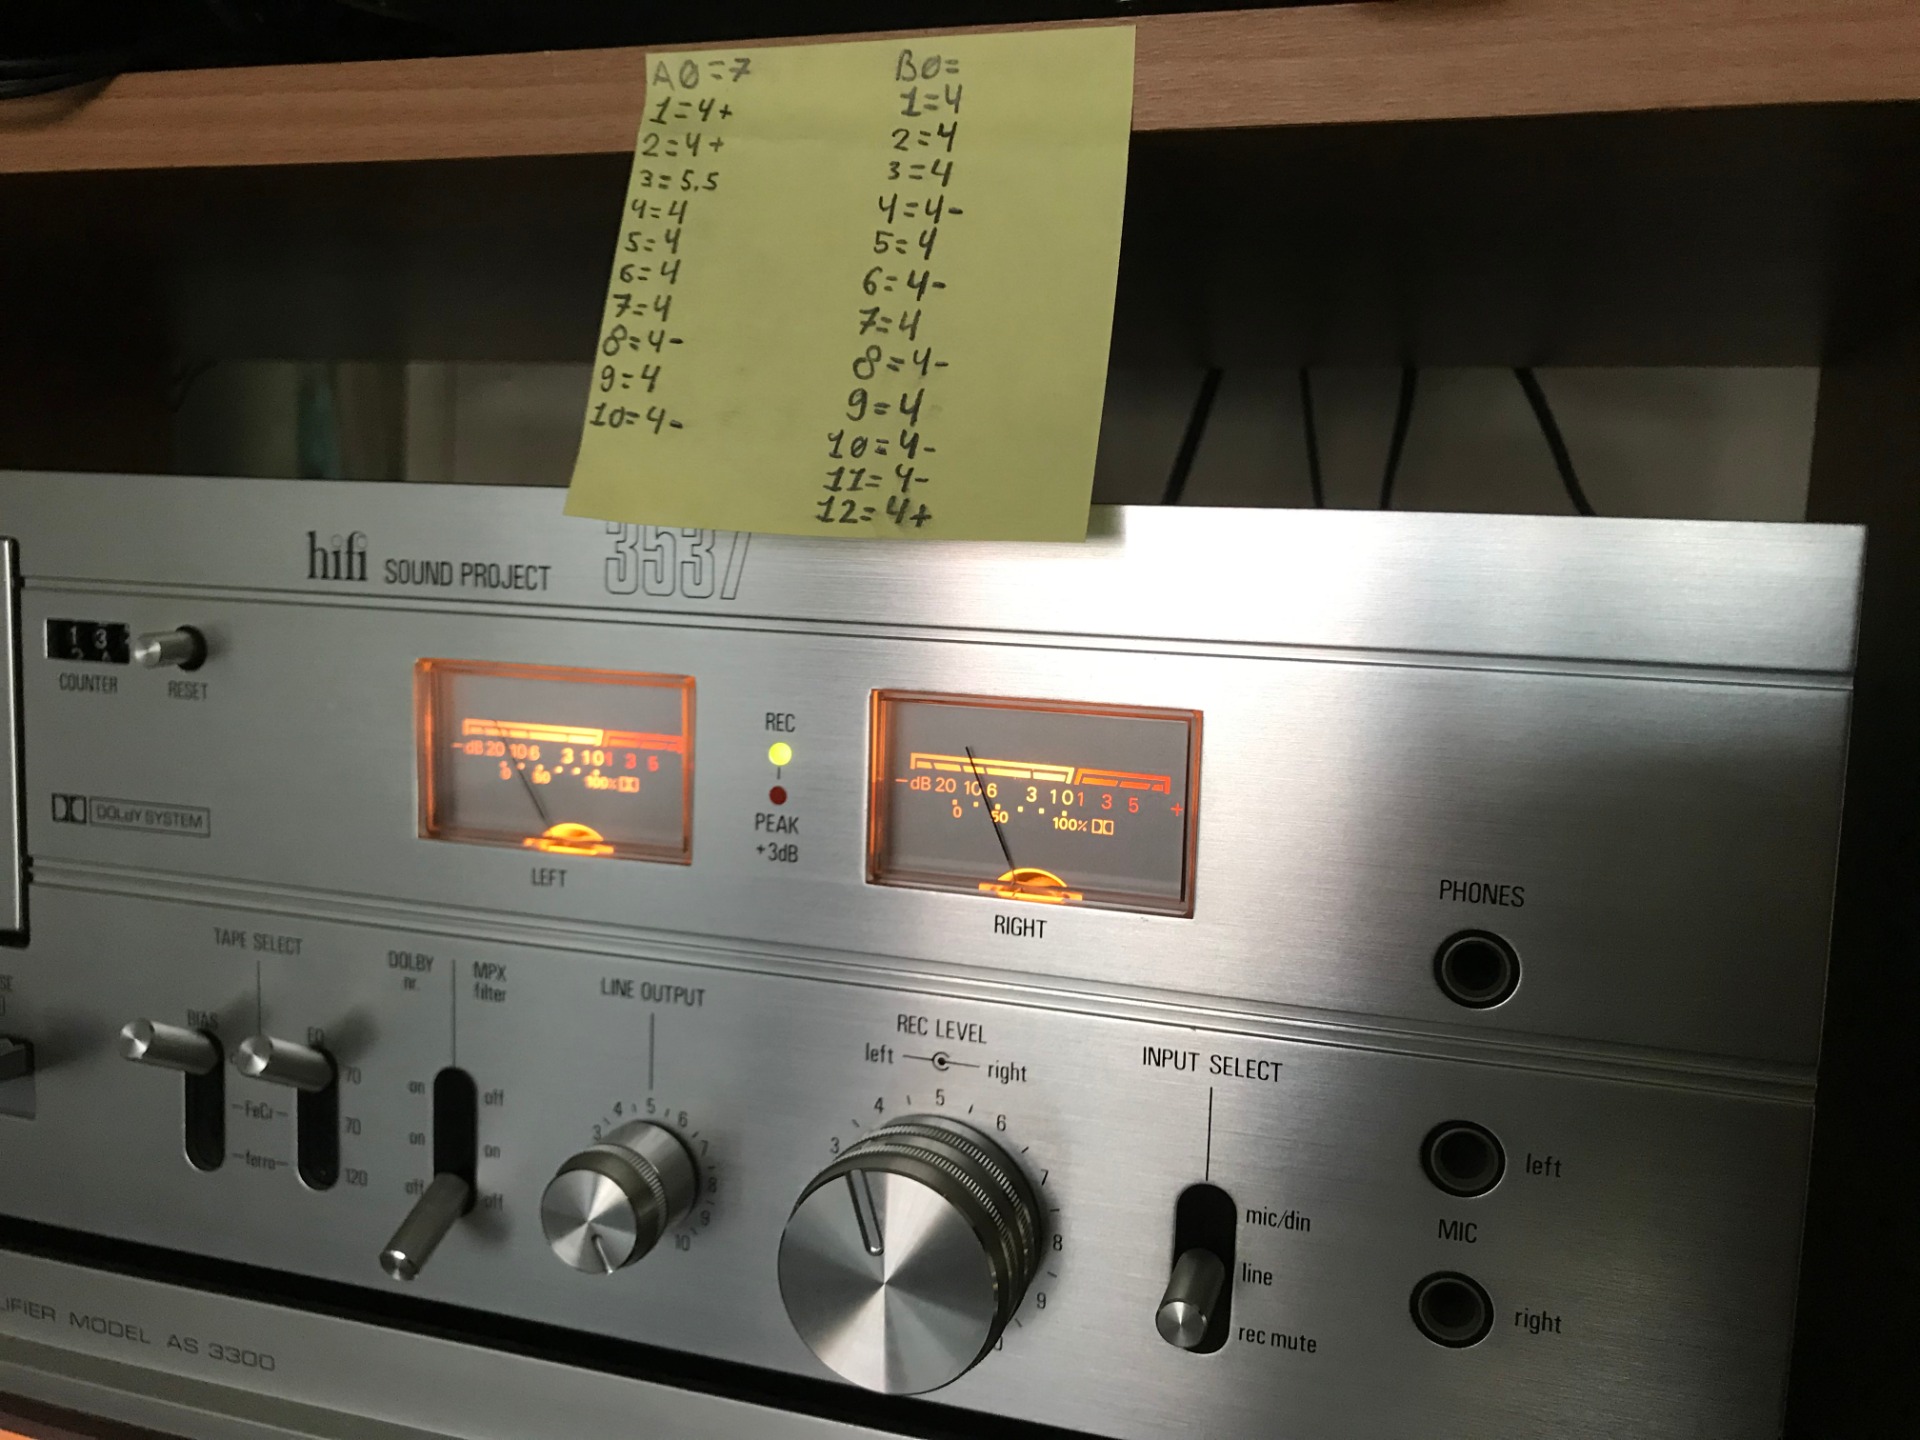
While testing with this tape, I also determine the recording volume of each song and write it down.
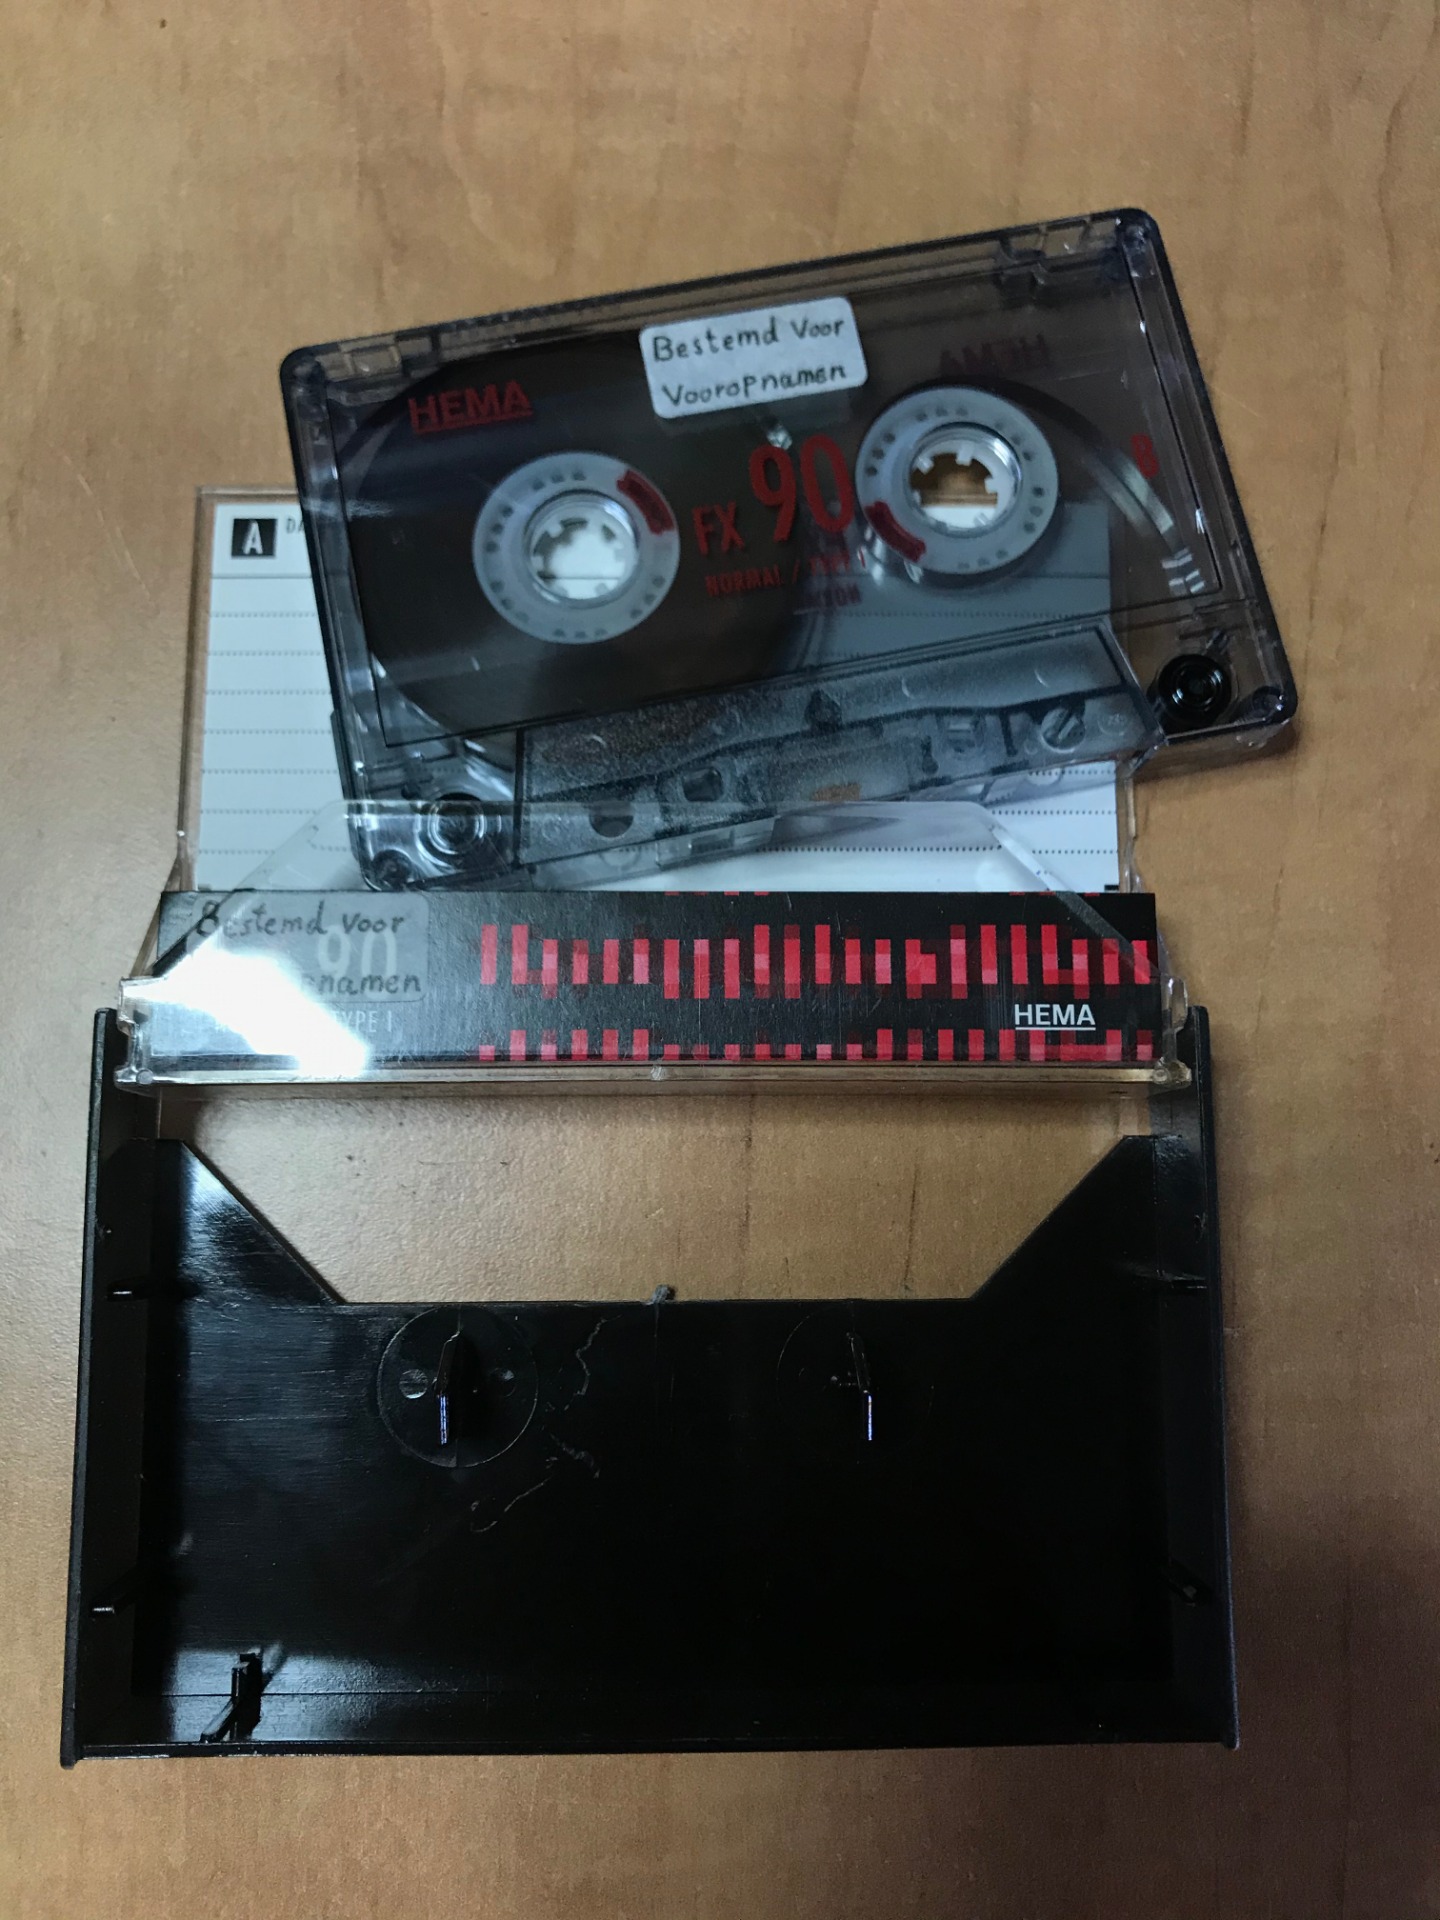
The only thing that 'must' be done now is to fast forward the tape until the tape itself is just not visible. This way you can immediately start
playing music after starting recording, so you prevent accidental recording on the transparent part.
You can fast forward with your finger, but also with a pencil if you hold it at an angle, a pencil is actually just too narrow for the coil to grip well in the teeth...
Finally, check whether the recording protection is not already activated, otherwise tape it with some tape. Of course you check whether you have the right side in front of you, the side on which you want to record must be facing you. It's a mistake I secretly make myself... So if you want to record on side A, you point it towards you when you put the tape in your deck.


A small addition about writing down the volume settings, don't mess up your notes. You would be better off writing the positions digitally. This way you prevent a large consumption of sticky memos as well as the chance that they get mixed up.
Finally, these notes are a snapshot for me. If you were to record the same playlist on or from a different source, chances are the noted volume levels will be incorrect.

As mentioned earlier, most cassette decks are mechanically protected against accidentally pressing the record button. To start it anyway, you have to press it simultaneously with the Play button. You can also choose to press the Pause button beforehand. Your recording will then only start when you pick it up from pause. With some decks you may have to turn on the record button differently than mentioned above.


During recording, adjust the recording volume so that the meters do not go too much into the red area (the 0 limit). This deck also has a built-in light between the meters that indicates if you agree with this, as discussed earlier, VU meters are a bit slower to respond, so if there is a very short peak in the music, the meters will let it go. didn't see it because it went too fast. The light does catch these peaks and then turns red.
It doesn't hurt to go over that threshold, by the way, with the right settings and type of tapes you could record up to +3dB clean. It is only wise not to sit too long and too far in the red area, that is where you start to lose a lot of quality.
Of course, the meters should not remain too low, because noise that is naturally on the tape can be heard in that area. If your meters are too low, you have to turn up your volume during playback to be able to hear the music properly, this also makes the noise more audible, resulting in a large loss in quality.
Ultimately, it is the music that determines the tempo and number of decibels. So your meters will always dance between these limits and they should, it's up to you with the recording level to determine how far your meters can go.
Because I choose to set the level separately for each song, I have to be present all the time. After all, you can also take an average recording level, especially if most songs are around the same sound level. It just depends on how much effort you want to put in for the best sound quality.
5. Maintenance
Although a cassette is virtually maintenance-free, the devices on which you play them do need some attention from time to time. Yet in contrast to similar media, maintenance with a cassette deck is fortunately minimal.

Important are the parts where the tape passes, these are:
The Erase Head , Recording/ Reading Head, the Capstan and Pinch Roller . (I will come back to the Pinch roller.)
You clean this after playing a number of tapes. It's hard to tell when you really need to clean them, but with a good eye you can tell the difference between a dirty and clean head.


Here's a very exaggerated example of dirty heads on a tape recorder. The same applies to any type of media that works with tape. Clean the heads periodically. Especially before you start recording!
How quickly your heads get dirty also depends on what cassettes you use. For example, cheap tapes (with cheap tape) leave more dirt than newer, better quality tapes. the type is also decisive. ferrous releases more than chrome or metal tapes.
For cleaning I use 96% Alcohol in combination with cotton swabs. The drug I use is sold under the name Ketonatus. Agents such as Isopropanol are also possible, which come in different alcohol percentages. As far as I know, the alcohol percentage should be quite high, but not too high either. However, I have my doubts about the specific requirements. As long as you don't use other (aggressive) cleaning agents, you're fine. By the way, do not use anything other than cotton swabs or a dust-free cloth.
Just a note about cleaning the Pinch roller. (the rubber rollers)
I have visited many forums and websites where I read that it is not good to clean rubber with alcohol, it would weather the rubber faster (dry up). However, in machine manuals it is simply recommended to also clean the Pinch rollers with alcohol.
I also read from many others that they have been cleaning the Pinch roller with alcohol for years without any problems. I'm guilty of it too, an expert might advise against it. Remember, Pinch rollers (like many other parts) are crucial to playback, as soon as they become damaged or weathered you will hear this immediately in your music! New ones are not always easy to get.
What you might try (I heard somewhere) is to use a cheap dish soap with lukewarm water. Again, make sure that there are no aggressive agents in it (hence cheap detergent).


Coincidentally, I notice this, immediately useful to mention, regularly check the parts that have to do with the transport of the tape. I saw that the plastic ring on the 'capstan' had shifted, it should be as far back as possible. Otherwise you will get slack, resulting in the capstan pushing your tape off the pinch roller and completely crumpling it in the deck, I've also had cases where the capstan folded my tape in half, or pulled it skewed, causing the tape to crumple like this again on the other spool. In short, check the crucial parts!

There is also such a thing as degaussing,
I find it a difficult subject to describe because the opinions here differ greatly from each other.
In theory, a weak magnetic field builds up when you play tapes on your deck. Mainly around the metal parts of the player. Over time, this field would get stronger and start to affect your playback and recording quality. In the worst case, it can even permanently damage your tapes!
But from other angles I hear again that demagnetization is a myth, some have done several experiments with demagnetization and noticed no audible difference, others have gone even further and measured the so-called magnetic field before and after demagnetization and measuring no difference in the field.
Finally, others say that there is a positive effect but that it is not easy to notice... On top
of that, the heads in your deck are different, some heads would build up a magnetic field faster than others (take Ferrite and Perma-alloy headlines as an example).
In short, I can't say for sure what effect demagnetization really entails, I myself have never demagnetized my decks until today...

A few months ago I scored this demagnetizing cassette in a thrift store. It works on a battery and generates a magnetic field of its own when activated. According to the instruction, you only need to do this for a few seconds.
Set the volume knobs to zero and put your deck in play mode. Do not put it in recording mode as this can have adverse effects on your headlines and future recordings. This cassette has a small light that indicates when it is active.
After a few seconds I take the tape out again, put in a normal tape and listen to the difference but I don't hear this one...
Whether it is really necessary or a myth I dare not say, it would be recommended that you demagnetize your heads every few weeks to prevent build-up of a strong magnetic field. What you do with the advice is up to you, I don't take it too seriously, but will use this special cassette more often in the future as a precaution.

You have all kinds of special tapes for cleaning and degaussing your deck, I've collected a few over the years but never actually use them. I physically clean heads with cotton swabs and alcohol, I will demagnetize more often from now on.
6. Walkmans

The walkman is what really made the cassette popular. It was the first portable medium to be widely used, there were other options before the arrival of the walkman, but none that you could use on the go or that you could easily carry it with you.
I myself have already worn a number of walkmans, mostly cheap models, in a thrift shop I managed to score a 'real' Sony Walkman (top right in the photo) for a nice price. It didn't work, but I've now partly got it working.
Walkmans come in many different forms, one has a built-in radio receiver, the other has noise cancellation and 'bass boost' and yet another even has recording capabilities! Still, good walkmans are not easy to come by.
A number of photos of a Sony WM-24 from 1986, on second-hand websites these devices are sold for exclusive amounts. This actually applies to the entire series that Sony has produced. This model is an older one from the series, has Dolby B noise reduction and is still in reasonably good condition despite its age, even the 'its a Sony' sticker is still on it!

Scanned a bit translucent, but very handy to have! There are not many manuals unless you have a good quality Walkman.
As I said, it is actually quite difficult to get a really good walkman, most of them also have defects and are very compact, which makes repair difficult. A good working one often costs a lot, I think this is partly due to the rising popularity of the cassette as well as the fact that the market is flooded with bad models. New 'good' walkmans have not been made for years and the existing ones are becoming rare.
The model I'm looking for has a specific requirement.
It must have a metal housing. This is because I have noticed that a walkman receives many disturbing signals, from a mobile phone or cell tower to entire buildings. Today's possibility to send everything wirelessly makes listening to a Walkman almost impossible. Unless you live somewhere in the polders, perhaps.
The metal housing acts as a 'Faraday cage' that can receive the signals from outside.
Then you also have the 'last' generation walkmans, these are often made to transfer your music to the computer via USB, the 'SilverCrest' Walkman in the photo is one of them.
Just never use it! The quality of these things is so bad that even digital recording is not recommended. I got one cheap on a sale but it's not worth it yet.
Finally, a walkman comes into use with many disadvantages, if you go out with a walkman, there is a good chance that your music will sometimes be distorted. They can't withstand bumps and swings well, they are still quite doable on the bike, at least if the bike path is in order. On some models there is a clip on the back with which you can hang it on your belt, for example. For example, I have already launched two walkmans while I was on the bike. They bounce really well....
Nowadays I almost never leave the house without a walkman, whether it's to work (by bike) or longer journeys by train.
Not to mention! Bring extra batteries, most are energy guzzlers! If your batteries are empty you notice that the music plays slower which is not nice to listen to, better models keep going until the battery suddenly gives up.

Another photo of a test after repair of a cheaper (but well-functioning) model.
In the meantime this walkman has also broken down, luckily I was able to remove parts with which I was able to fix up another one.
7. Buy new cassette tapes

Buying new cassette tapes is no longer so easy, at least not for good tapes. You can often still get them cheap in thrift stores but these can be of poor quality, but sometimes you can get lucky. As you have read before, it is useful to search for specific types of tapes, you can best recognize bad tapes by their cheap appearance. Plastic that is weathered, stickers that come off, brown tape (ferrous) etc.
Look at the brands, Sony, TDK, BASF and especially Maxell were known as good manufacturers of tapes. And kept this up to the end. I dare not mention Philips (although inventor of the tape), I've only come across cheap productions so far.
Cassettes were well priced, but are becoming more and more expensive, until a few years ago I still saw enough packs of five tapes. Now they are rare and not cheap anymore!
In thrift shops they also become aware of the different qualities, so chrome cassettes may have become more expensive, but I was still lucky last year.
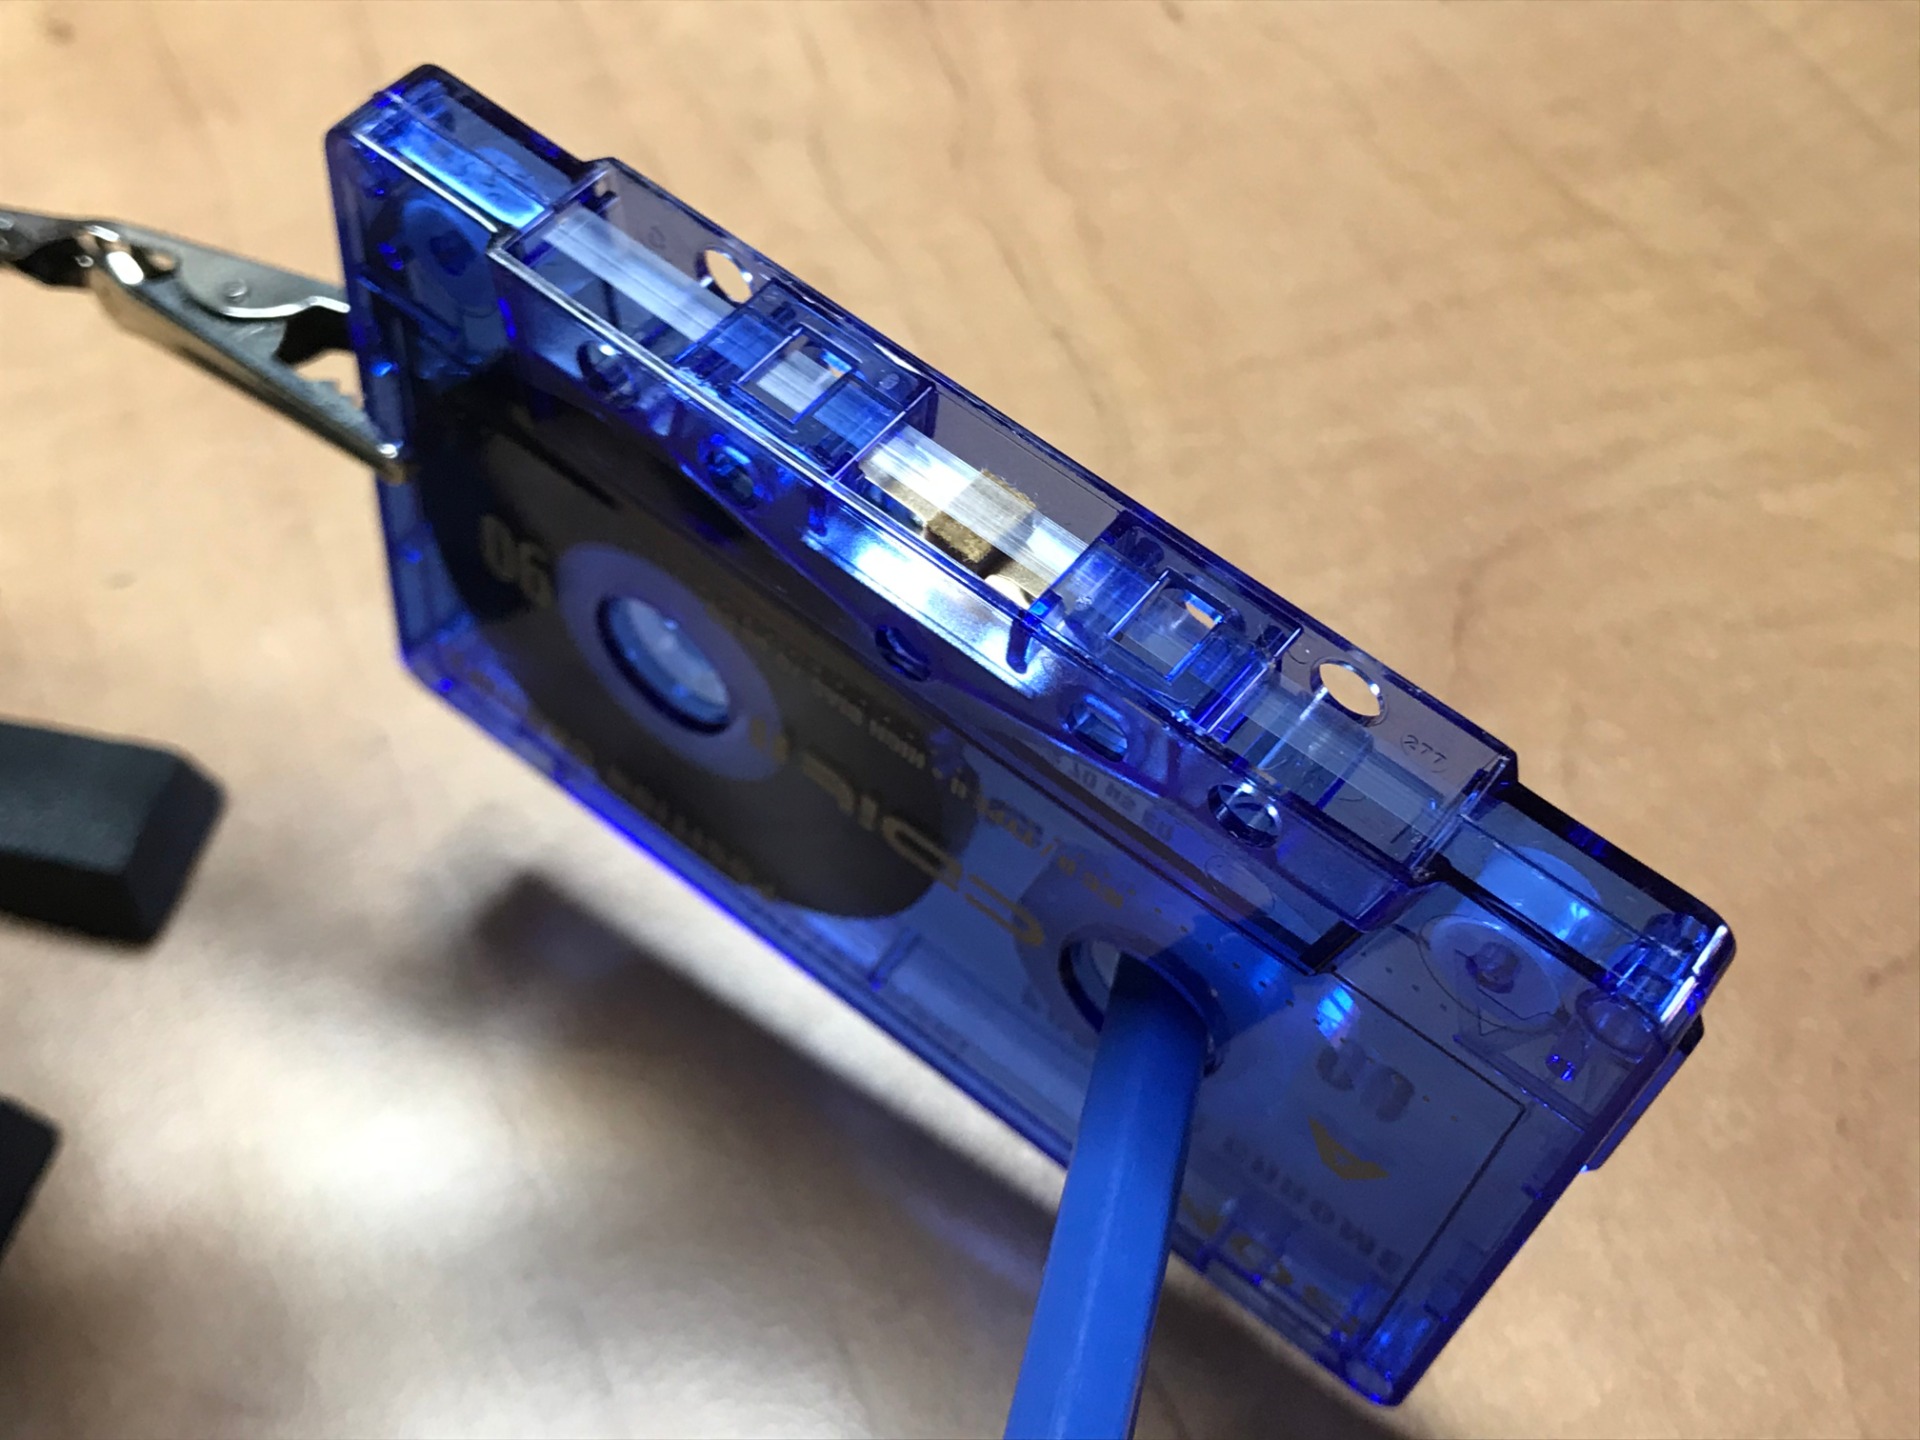
In a 'brocanterie' (a fancy thrift shop) I found a box full of old tapes, I spent an hour sorting them all out, but found more than twenty new chrome tapes of Sony type: CDit II (the blue one) partly like a bunch of TDK and Maxell tapes. I also know why I find so many of these more expensive cassettes here.
The province where I live is rich in churches. The readings and psalms during church services were often recorded on good tapes for later listening. Many churches have maintained this for a long time and only switched to digital mediums late. I see often enough recordings of church services in thrift shops, sometimes whole collections of pastors in alphabetical order. So I sometimes come across dumped stocks of unused tapes, and I was able to buy up the dump of Sony tapes for a very low price. I won't have to hunt anymore!
You can also choose to buy real new cassettes through the Bandjesfabriek. I once bought 25 pieces of ferrous tapes there, but then I wanted to go for chrome (didn't find those other tapes at the time). Today they do! They cost a bit but realize that with a stack of 10 you can go for a very long time.
Finally, you can also look at second-hand websites, for example I bought a few homemade (reproduction) tapes that I am only too happy to show on this website. Please note that not all reproductions will work properly or have the correct recording time.
8. Make your own insert cards
First, let's take a look at the cards I made.

I have been making cards for the cassettes for quite some time, so different series have been created because every few years I decided to make the cards differently. Below are five tapes from different series.


Making cards can take a lot of time, especially if you want to do it really neat.
Nowadays I have a printer and I can make my maps on the computer. I don't really save time on it, but the result is an improvement over previous designs. Which I listed above.

I can design the cards with Microsoft Office - Word. You can draw shapes based on real measurements.


Designing the cards on Word is not always easy. Some experience with the program is recommended.

I try to cram as much as possible onto a single A4 sheet to save paper. I use extra thick paper for the cards (double the normal thickness). Still, I still have a lot of paper left with the current design...

I cut the cards with a paper cutter, I fold them with a ruler. Before I write down the numbers on the inside I draw lines, in advance I calculate what the distance between the lines should be for the number of numbers on the tape.

In this case I write down the numbers with the typewriter, sometimes I write them by hand or fill them in beforehand on the computer.


Making cards can therefore take a lot of time, I only start when I really feel like it and have built up a large backlog, so I can store more cards on an A4 sheet at the same time and save on paper.
For me, the cards are the icing on the cake, they have to look neat and at the same time carry all the necessary information; titles, playing time, recording date and noise reduction. Since I make the cards based on series, they have to look the same but still vary in order to remain unique.
In short, it's just how much time you want to put into it.
By the way, I once found the templates for the cards on the internet, I made my own design of this, you can download it on this page .
All the tapes shown that I have recorded myself are intended for personal use. Some double bindings are just old copies that I still have laying around.
The music comes from various digital sources, the internet but also CDs.
Related pages:
- The Compact Cassette: Past and Present Blog
- Noise Reduction, Technique and Use Blog
- New old tapes! blog
- Erres 3537 Cassette Recorder Repair (vol. 2)
- Erres 3537 Cassette Recorder Repair (vol. 1)
- Marantz SD1000 Cassette Recorder Repair
- Compact Cassette Gallery